

After upgrading to Windows 11, it’s still possible to revert back to Windows 10 without losing your files if, for example, the new version is causing problems or you are not ready to make the leap.
The process is possible using the recovery settings. The only caveat is that the option is only available for the first ten days after the initial upgrade. After this period, Windows 11 will delete the files from the previous installation to make room in the hard drive for more important files.
It is also worth noting that after uninstalling Windows 11 from your PC, you may need to reinstall some apps, and you may lose some settings that you have configured in the newer OS.
This guide will teach you the steps to roll back to Windows 10 after upgrading to Windows 11.
Rollback to Windows 10 from Windows 11
- Open Start on Windows 11.
- Search for Settings and click the top result to open the app.
- Click on System.
- Click the Recovery page on the right side.
- Under the "Recovery options" section, click the Go back button.
- Select the reason for uninstalling Windows 11.
- Click the Next button.
- Click the No, thanks button.
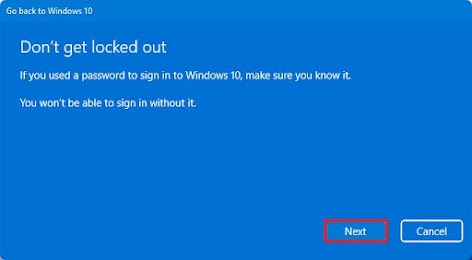
- Click the Next button.
- Click the Next button again.
- Click the Go back to Windows 10 button.


0 Comments